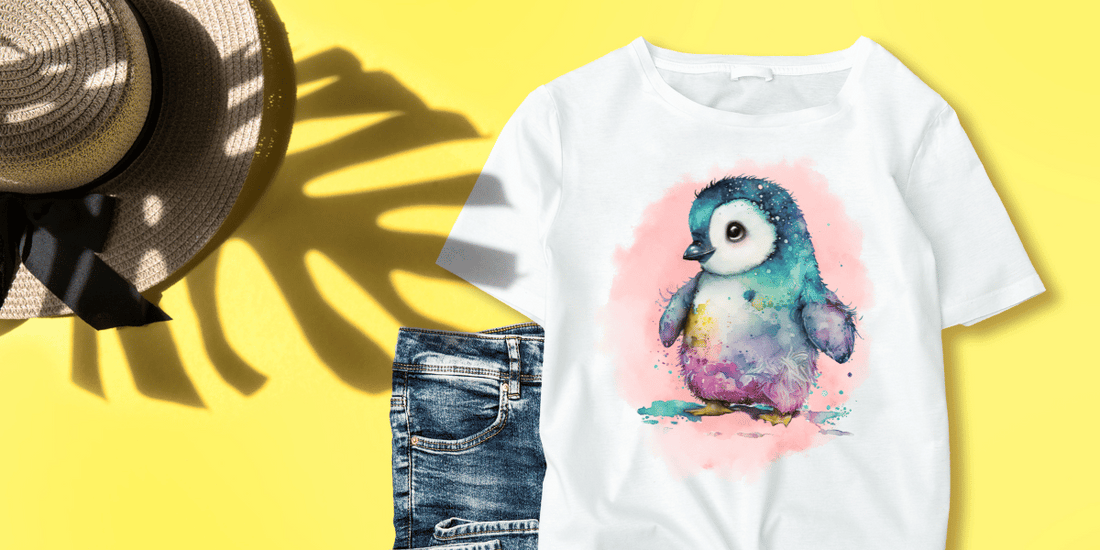
Have you been wondering about sublimation and how to make your own shirts? I am Corinne Blackstone and I will be here to guide you through the process of creating a sublimation t-shirt using Hayes Sublimation Paper and their new sublimation shirt blanks.
Supplies:
Hayes Sublimation T-shirt or a 100% Polyester shirt
Sublimation printer
Heat tape
Heat press that can reach 400 degrees
Butcher paper
Lint roller

The first and probably most important thing when it comes to making a t-shirt with sublimation is to check what the fabric material is made out of. With sublimation you need to use a polyester fabric. The higher the polyester count, the brighter and longer lasting your design will be. 100% polyester is the best but you can sublimate on lower polyester counts but know the colors will be more muted. It is also extremely important what color your fabric is. You can not sublimate on dark shirts as the designs will not show. Using light colors will work best, keep in mind any color you use under sublimation, like a light pink or light blue will affect the colors of the print. Sublimation is a transparent ink so it allows the color of the fabric to show through. Think of it like using a clear sticker over your laptop or on a water bottle, you will see that through your sticker.
Once you have selected your sublimation t-shirt blank it's time to select and print a design. The great thing about sublimation is if you can print it, you can put it on your shirt! Using photos, PNGs, even SVGs is easy with this process. I recommend printing your design from software like Inkscape, Canva or even Microsoft Word. I do not recommend using Design Space for this process as it limits your size and also lessens the quality of your image. It’s important to know you MUST mirror sublimation prints or your designs will be backwards when you place them on your shirt. You can mirror in many of the softwares listed above by flipping your design horizontally or you can do it in your printer settings. Either way will work, just don’t forget to do that.

Your printed image is going to look quite dull compared to what it will look like pressed so do not worry when your image quality looks a little off when printed. I always recommend making sure you print with your paper setting on the premium presentation matte paper setting and set the print quality to high. Be sure to turn off your high speed print options or you may end up with lines through your print.
Now the fun part! We get to press the t-shirt. Our first step is to cut two pieces of butcher paper. One will go inside the shirt to help protect the back of the shirt from any ink bleed through and the second sheet will go over the back of the print to keep the ink from getting on your heat press.

Make sure to lint roll your shirt to remove any hair or debris. If you have anything on the shirt you will have spots where your ink isn’t going to go on the shirt and it will leave you with white spots.

Get your printed image and lay it face down on your shirt. I like to put a small crease at the very top of my page to help me know where the center is on my image. You will need to line your design up.

I typically go about three fingers down from the collar for an adult size shirt. Once your image is lined up where you want it, grab your heat tape and add a few pieces to the paper to hold it securely to the shirt. You do not need to go overboard. I usually do just the corners and that's plenty to hold it steady under the press.

When pressing sublimation it is important to check for the correct time and temperature for the sublimation blank you are using. In this case, our 100% polyester shirt will press at 400 degrees Fahrenheit for 60 seconds, with a medium pressure. Before you press your shirt do not forget to put that piece of butcher paper on top to catch any ink that may seep through the paper and get onto your press.

When the press is done you can remove the butcher and sublimation paper right away. This will help the design from getting overheated as it is still hot and turning into a gas. Doing this will also prevent ghosting from your design. If you do not remove the sublimation paper straight away your paper can move and cause the lines of your design to become blurred as the image cools.

Simple as that, you now know how to make a really fun and easy shirt! Some of the reasons I love sublimation are because it's very quick to make something as there is no cutting or weeding involved. You can also use the full spectrum of colors and shading which is not possible with standard HTV. Sublimation printing also feels incredibly light on your shirt as it is dying the fabric and not something sitting on top of the shirt.

I hope you picked up some new knowledge about sublimation and will give it a try! Thank you so much for checking out this blog and I hope you have a WONDERFUL day and as always
HAPPY CRAFTING!
Written by Corinne Blackstone

