Waterslide Laser Instructions
Applying water slide decals is easy, follow these 6 steps below or watch our YouTube video.
Have Fun!
1. Print your design onto Hayes Paper Co.® - Laser Water-slide Decal paper, using a Laser printer.
Create your design on a computer and save the file at a 300DPI resolution in CYMK color. Load Hayes Paper Co® waterslide Laser Decal paper in the printer so that the glossy side is the side you print the image on.
Set the printer settings to high quality print, glossy photo paper or a coated paper as media type. Print your design and let the ink dry for 3-5 minutes or longer if you live in a cooler climate.
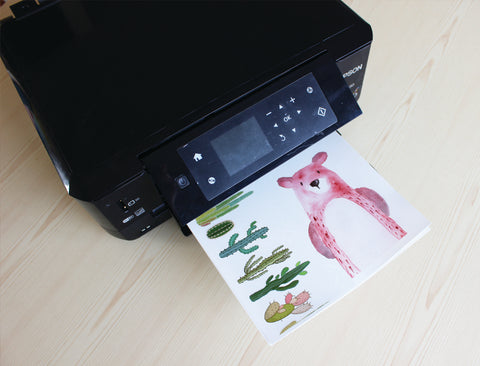
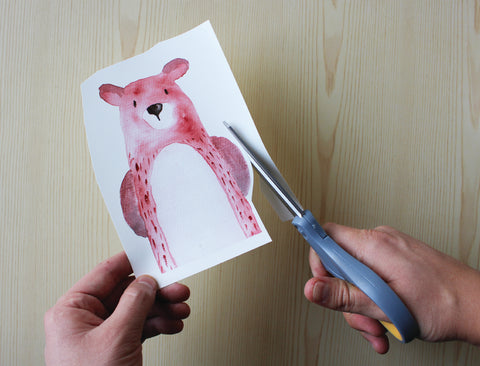
2. Use scissors to cut out your design. Do NOT cut right to the edge of your design, leave 2-3mm of spacing.
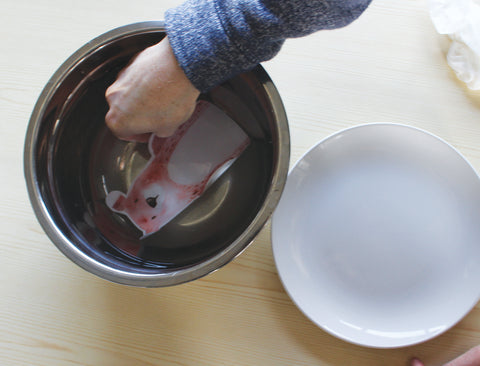
3. Fill your bowl with room temperature water. Submerge you pre cut decal for 30-60 seconds or until the middle of the decal can easily be slid around. Remove from water.
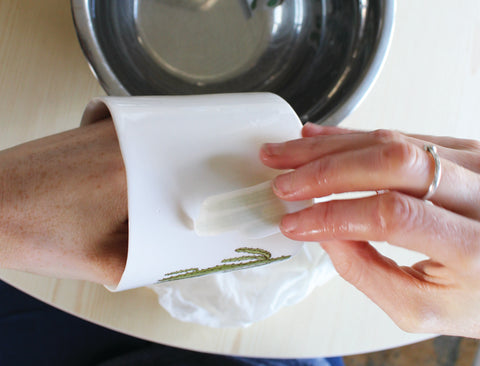
4. Quickly apply it to your clean decal surface. Position decal, backing side down and gently slide backing off. Keep the backing flush with your project as you gently pull it out from behind the decal. Press firmly, use your fingers, a damp cloth/ paper towel or a mini squeegee to remove air bubbles. Gently pad off any excess water.
5. Let the decal set and dry for at least 3 hours. Don’t expose to direct sunlight during this time.
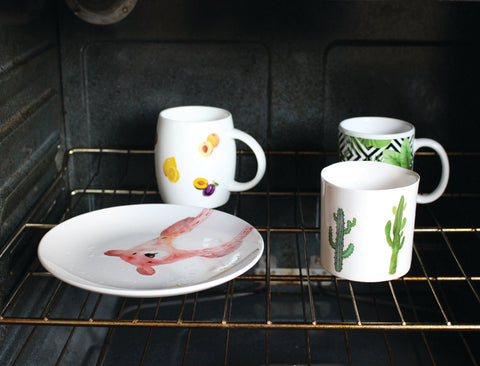
Ceramics can be baked in an oven at 230 degrees fahrenheit for 10-15 minutes. Ceramics are NOT dishwasher safe and should be cleaned by a gentle hand wash.
Epoxy can be applied over the entire project to give a final glass like finish.
Epoxied projects are NOT dishwasher safe and should be cleaned by a gentle hand wash.
Have a question about waterslide decals? Check out our Waterslide Decal FAQs or read more tips on our blog post: Common Mistakes to Avoid when using Waterslide Decal Paper
Share your creations with us by tagging @hayespaperco on Instagram or @hayespaper on Facebook . Use #HayesPaperCo.
