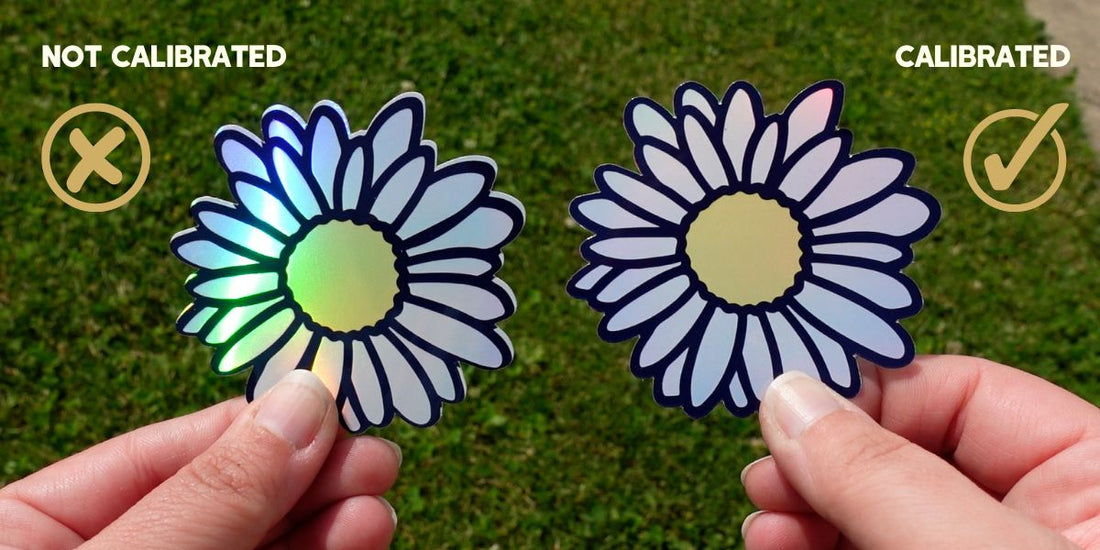
Hello fellow crafters! I am Corinne Blackstone, an avid Cricut user and Youtube tutorial maker! I am here today to share with you why you should calibrate your Cricut machine when you are using the Print Then Cut setting. I know it can seem like a pain and it does take some time but it makes a HUGE difference. I am going to walk you through the steps to calibrate, so let's get started!
To access the calibration section you will go to the three lines in the upper left corner of your design space and select calibration. You will be given three options for calibration. You will see the knife blade, rotary blade, and print then cut. For this blog we will be focused on Print Then Cut.

You will need to print out a couple of the calibration sheets. You have this option to print from the Design Space software but I do not recommend printing from there. The calibration sheets from the website are slightly different and seem to give a better calibration. You can print calibration sheets onto regular copy paper.

Once you have printed that sheet I recommend printing four extra calibration sheets just to be safe because you will perform more than one calibration. The next step is to load your mat. You want to be sure the numbered lines are at the top of your mat.

When you click continue the machine will begin by scanning the large outside box which is known as the registration box. You will notice this box is different from the lines used when you do Print Then Cut normally. That is ok and it will work just fine. Once the machine is done scanning the lines it will continue and cut the smaller square in the center of the sheet. You will want to peel off the paper from the inside of the square and look at how much black line is left on all sides of that square.

Cricut Design Space will now have Assessment 1 up on the screen where it will ask you to tell it how well it cut the square. In this case we have a square similar to the one under the red X so we will need to select No so that it can do the basic calibration. You will not want to remove your paper from your mat at this time or unload the mat. Once you hit continue the machine will begin to cut lines on each of the numbers and the letters along the side of the sheet. When it finishes this cutting do not unload the mat. You want to look at each of the lines and find the ones closest to the center of the line and select those lines in Cricut Design Space.

From here you will be directed to do calibration again so that the Cricut can get the best cut possible. You can do this calibration as many times as you need to in order to get a great cut. Once you are satisfied with the way the basic calibration is cut it will direct you to do the Fine Calibration and for this one it will cut the large square. For this large square you will notice a much more even black around the outside of the square. Once you have that you are done with calibration and ready to make awesome stickers and other Print Then Cut products with your Cricut!

Be sure to check out my Youtube channel for all the full video tutorials and be sure to keep checking back on the blog for even more fun and exciting things!
As always HAPPY CRAFTING!
Written by Corinne Blackstone

